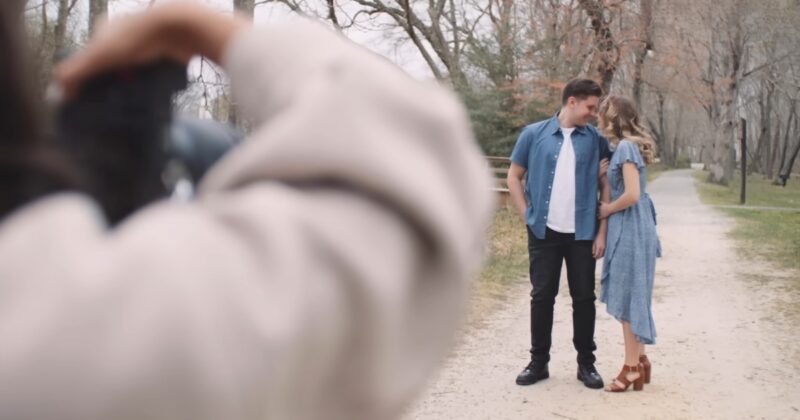
Barcodes have often been used in retail stores for storing product-related information on product packages. With time barcodes were replaced by QR codes or quick response codes to store more details or information about a product. Thus, today most products including photographs and portraits carry a QR code with them.
Generating And Incorporating A QR Code In Your Photos
The QR code carries information about the photographer or the artist so that no other person can claim ownership of the photo that he or she has clicked. Moreover, a QR code can also contain links to the photographer’s website so that a potential customer can directly contact the photographer.
Most modern-day photographer already knows how to integrate a QR code with their photographs. However, if you are still unaware of the steps to integrate a QR code into your photos you read this blog and also check this out.
If you are to incorporate a unique two-dimensional code into your photos you must start by generating a code for yourself. Here are some tips to generate a QR code and integrate it with your code without any hassle.
Go To A Free QR Code Generator
The first step for generating a QR code is to go to a free QR code generator. But visit a site that is compatible with all operating systems like Android, Apple, etc. A good QR code generator will work well with all sorts of mobile devices as well as all types of operating systems.
Once you have signed into the website of a code generator you will be given the option to try out all the features for free for a limited time (one or two weeks). During this time you must try out all the features so that you can decide whether you need to sign up for a pro version or what features are the most useful for your purpose.
Go For An Editable QR Code
Most free code generators come with a set pattern, design, etc but when you sign up with the code generator site or go for a paid version you get a customizable QR code. It is always a good idea to go for a customizable/ editable code as it allows you to update relevant information from time to time.
The customizable codes allow you to change the shape of the QR code. Usually, the codes come rectangular but you may also customize it and make it into a square if you like symmetrical patterns. Again, regular QR codes are a combination of tiny black and white boxes.
But if you like experimenting you can create a colorful one for yourself. Some code generator sites also give you the option of adding your logo to the QR code. So if you have a logo do add it to the code so that your old and loyal clients can recognize the logo.
Also, most free code generator sites allow for unlimited warranty for the QR code but it is always prudent to check for the expiry date if any before you incorporate the code in your photograph.
Carefully Enter The URL
The URL for your website is crucial if you want potential customers to see all your photographs. So be careful while entering the URL. A broken or faulty URL may show an error 404 to a user. So, when typing the URL make sure that there are no unnecessary gaps in the URL.
Also, there should be no spelling mistakes while you type out the URL for generating the QR code. But if you have a dynamic code that can be edited after being generated then you can fix errors like typos.
Carefully Enter The Text Or Any Image For The Code
In some cases you may not want to direct a person to a particular website instead you may want them to be redirected to a piece of text, a visiting card, or a flyer. So in such cases, the text or flyer image must have no errors in it. Moreover, the file size of the text or flyer must be such that it can be integrated easily into the QR code.
The type of information that you integrate into the QR code should depend on the purpose for which you want to use the code. So, if you want to promote your photographs through the code then you must use plain text or a pre-typed SMS for your code.
A prototype SMS sends a promotional SMS to a potential customer. But if your main aim is to receive payment through the QR code then you must add a crypto or payment request link to your QR code. And if your primary aim is to promote other photographs then adding a link/ URL is the best option.
Remember Where You Have Downloaded The Code

Once you are done with all the customizations and have added all the details like URL, text file, and flyer correctly you must press the generate button. Once, the code has been generated load the code and store it in a file from where you can easily use it as and when required.
Conclusion
As a photographer, you can use a QR code for several purposes. Right from promoting your photographs, to directing a potential customer to your website to collecting payments. However, it is vital to know the importance of a dynamic code as it allows easy corrections.
Most dynamic codes are available in the paid versions so if you are going for a static code (which cannot be edited once generated) make sure that you enter all the information correctly.
Do recheck all the information that you have fed in before generating a static QR code. Also, it is critical to understand the type of information to feed in a QR code, and depending on your need ie marketing, patent collection, etc you should feed in URLs, and payment links respectively.